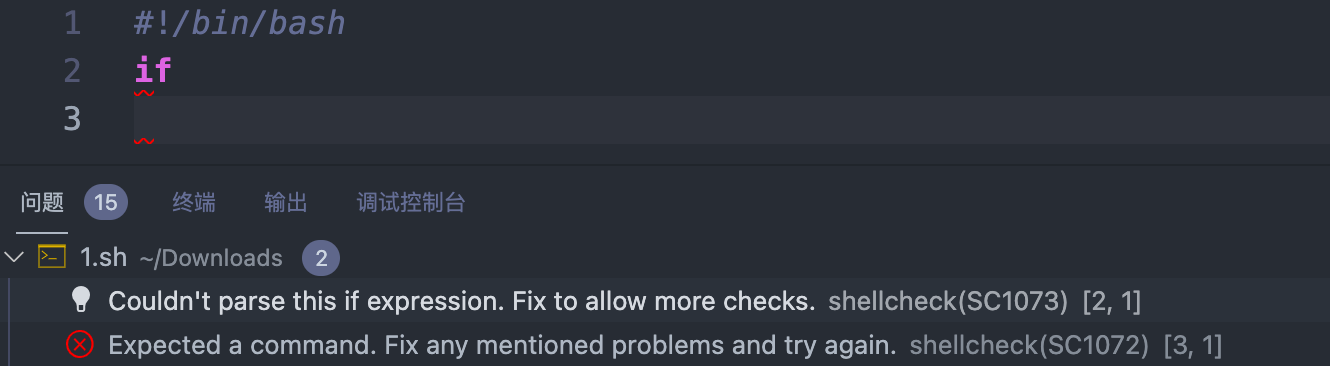
Mac 下 Sed 参数 i 出现 invalid command code
很少在Mac上调试Shell,今天在Mac调试Shell的时候发现sed的用法还有点不一样,报错:
1 | sed: 1: "02.data.sql": invalid command code . |
解决
在-i后面增加''变成-i ''即可
Mac
1 |
|
Linux
1 |
|
Mac和Linux下分别用以上两种写法就可以了
很少在Mac上调试Shell,今天在Mac调试Shell的时候发现sed的用法还有点不一样,报错:
1 | sed: 1: "02.data.sql": invalid command code . |
在-i后面增加''变成-i ''即可
1 |
|
1 |
|
Mac和Linux下分别用以上两种写法就可以了
在用Python或Nodejs做项目的时候我喜欢把项目的路由分文件存放在routers文件夹下,然后在启动文件夹中加载,这样即简洁也好维护,试试如何在Gin中实现
1 | r := gin.Default() |
就3行代码,Router方法用来加载所有的路由,接下来看Router方法具体实现
1 | func Router(e *gin.Engine) { |
Router方法主要是去把当前包下的其他模块的路由加载进来,这里使用了路由组,如果不需要路由组的话去掉即可,接来下看看RouterUser方法具体实现
1 | func RouterUser(e *gin.RouterGroup) { |
使用路由组接收的参数是RouterGroup不使用路由组接收的参数是Engine,这里需要注意一下
最后规划下来的目录如下:
1 | . |
这样规划的话,就只需要维护router.go和其他的对应模块自己的路由规则,main.go也就会变得非常的简洁
一个非常简单的需求,需要在ES中去匹配IPV6的2409:8a10:*段的数据,看看如何查询
1 | GET logstash-nginx-*/doc/_search |
这里的重点是"""2409\:8a10\:*"""也可以写成"2409\\:8a10\\:*",其他的符号也可按此类推即可
最后效果: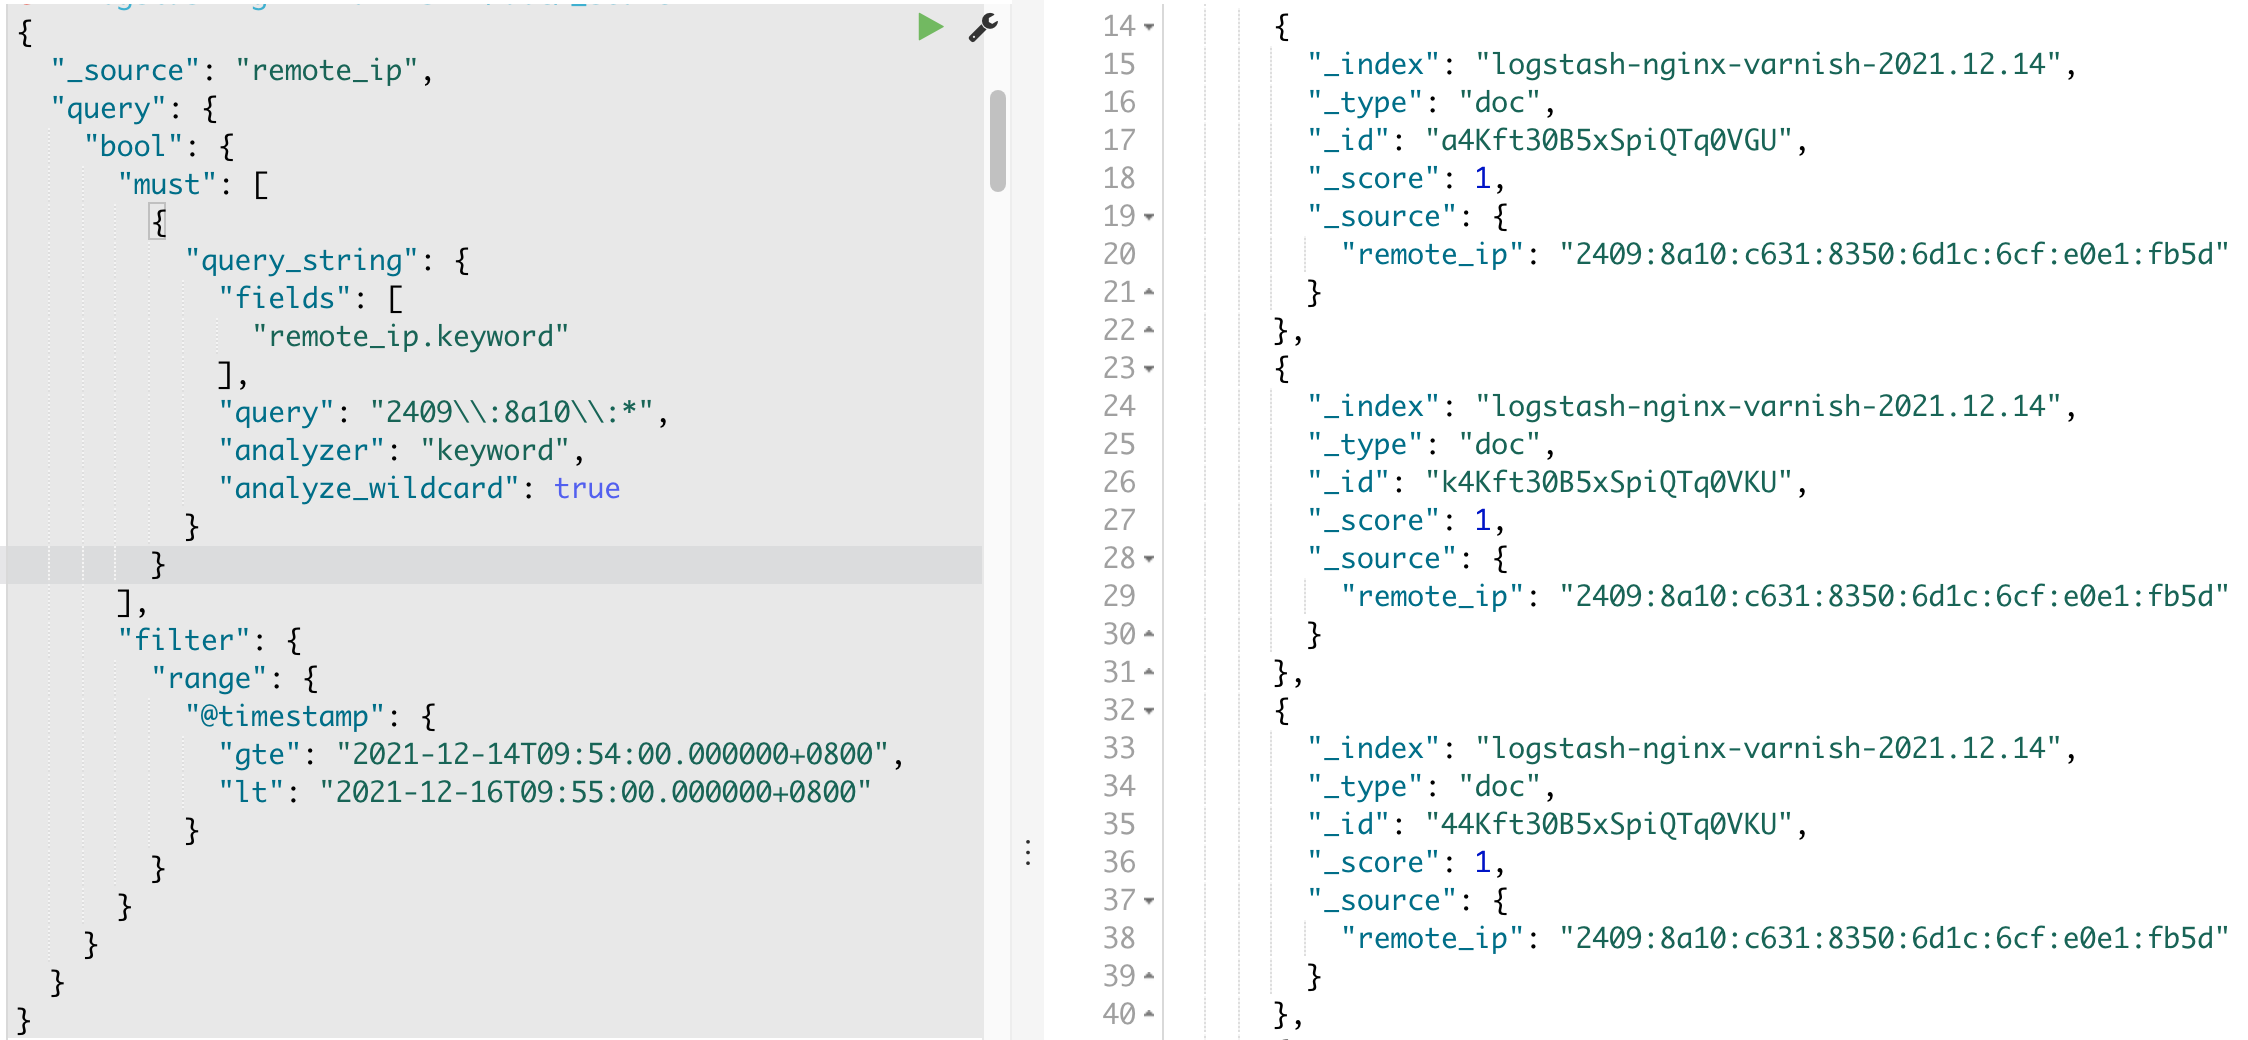
在Python中需要热加载是非常简单的,以Sanic为例只需要设置auto_reload=True,但是在Gin中没有内置相应的功能,这里我们可以利用Go中的一些其他包实现,即更改源码,保存后,自动触发更新,浏览器上刷新即可。免去了杀进程、重新启动之苦
试了下github.com/gravityblast/fresh还觉得不错
安装:
1 | go get github.com/pilu/fresh |
使用:
1 | fresh |
记录一下其他实现框架
Air:https://github.com/cosmtrek/air
Bee:https://github.com/beego/bee
Realize:https://github.com/oxequa/realize
Gin:https://github.com/codegangsta/gin
gowatch:https://github.com/silenceper/gowatch
题外话:
在安装非项目使用的包时如:fresh,最好是不要在项目根目录下进行go get或者会被写入到项目的go.mod 中
type定义的结构体和接口都是类型
在Go中,如果一个名字以大写字母开头,那么它就是已导出的,在导入一个包时,你只能引用其中已导出的名字。任何未导出的名字在该包外均无法访问
类似其他语言Public与Private修饰符
Go的返回值可被命名,它们会被视作定义在函数顶部的变量。返回值的名称应当具有一定的意义,它可以作为文档使用。没有参数的return语句返回已命名的返回值。也就是直接返回
函数中,简洁赋值语句:=可在类型明确的地方代替var声明
函数外的每个语句都必须以关键字开始(var, func 等等),因此 :=结构不能在函数外使用
没有明确初始值的变量声明会被赋予它们的零值,0、false、""(空字符串)
使用const关键字声明,常量不能用:=语法声明
defer语句会将函数推迟到外层函数返回之后执行,推迟调用的函数其参数会立即求值,但直到外层函数返回前该函数都不会被调用
推迟的函数调用会被压入一个栈中。当外层函数返回时,被推迟的函数会按照后进先出的顺序调用可以看做是倒序执行
指针保存了值的内存地址
它会选择一个半开区间,包括第一个元素,但排除最后一个元素
切片并不存储任何数据,它只是描述了底层数组中的一段。更改切片的元素会修改其底层数组中对应的元素。与它共享底层数组的切片都会观测到这些修改
有了匿名函数,就可以在函数中再定义函数(函数嵌套),定义的这个匿名函数,也可以称为内部函数。更重要的是,在函数内定义的内部函数,可以使用外部函数的变量等,这种方式也称为闭包
方法就是一类带特殊的接收者参数的函数
接收者的类型定义和方法声明必须在同一包内;不能为内建类型声明方法
使用指针接收者的原因有二:
首先,方法能够修改其接收者指向的值。
其次,这样可以避免在每次调用方法时复制该值。若值的类型为大型结构体时,这样做会更加高效
通常来说,所有给定类型的方法都应该有值或指针接收者,但并不应该二者混用
接口类型是由一组方法签名定义的集合
类型通过实现一个接口的所有方法来实现该接口。既然无需专门显式声明,也就没有 “implements” 关键字
隐式接口从接口的实现中解耦了定义,这样接口的实现可以出现在任何包中,无需提前准备
因此,也就无需在每一个实现上增加新的接口名称,这样同时也鼓励了明确的接口定义
未完待续…
国内的PYPI源也挺多的,经过实际使用下来,还是觉得华为的PYPI源包的版本最为齐全,推荐用华为的源进行加速
运行以下命令使用华为源:
1 | pip install -r requirements.txt --trusted-host https://repo.huaweicloud.com -i https://repo.huaweicloud.com/repository/pypi/simple |
或者
1 | pip install --trusted-host https://repo.huaweicloud.com -i https://repo.huaweicloud.com/repository/pypi/simple sanic |
通过上面的方式安装单个包
Pip的配置文件为用户根目录下的:~/.pip/pip.conf(Windows路径为:C:\Users\<UserName>\pip\pip.ini), 您可以配置如下内容:
1 | [global] |
其他国内镜像源:
1 | 阿里云:http://mirrors.aliyun.com/pypi/simple/ |
个人推荐使用华为的Alpine源,通过我的测试华为的源最为齐全
1 | sed -i 's/dl-cdn.alpinelinux.org/repo.huaweicloud.com/g' /etc/apk/repositories |
1 | sed -i 's/dl-cdn.alpinelinux.org/mirrors.aliyun.com/g' /etc/apk/repositories |
1 | sed -i 's/dl-cdn.alpinelinux.org/mirrors.ustc.edu.cn/g' /etc/apk/repositories |
1 | sed -i 's/dl-cdn.alpinelinux.org/mirrors.tuna.tsinghua.edu.cn/g' /etc/apk/repositories |
1 | RUN sed -i 's/dl-cdn.alpinelinux.org/repo.huaweicloud.com/g' /etc/apk/repositories |
最近开发Python一直在用Sanic,感觉还不错;看看如何将Sanic部署到 Docker中并用Supervisor来守护
这里利用Python 3.9来构建基础镜像
1 | FROM python:3.9-alpine |
这里利用华为的alpine源和pypi源
1 | [unix_http_server] |
题外话:
容器运行Supervisor记得设置nodaemon=true,或则会出现Unlinking stale socket /var/run/supervisor.sock
因为Supervisor默认是deamon模式,启动命令结束后Supervisor会在后台运行,而容器运行启动命令返回0后自己关闭了,导致一直出现无法运行的现象